BBC Dance Mat Typing Guide
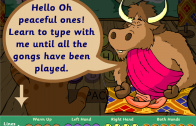
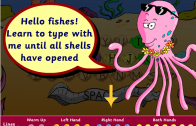
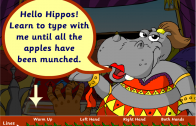
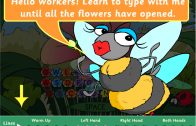
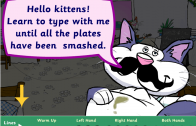
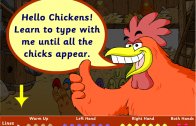
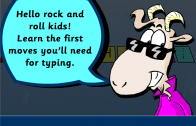
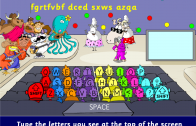
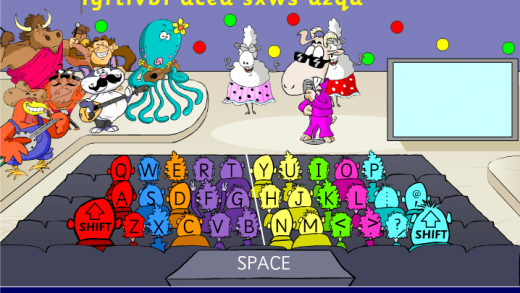
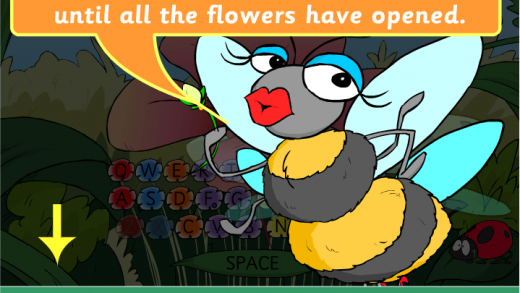
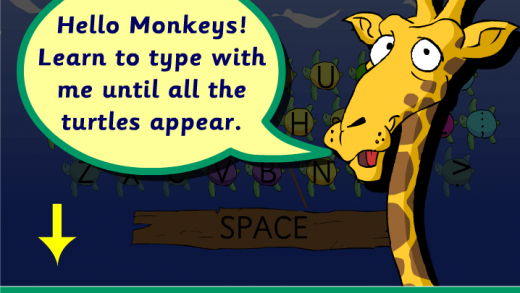
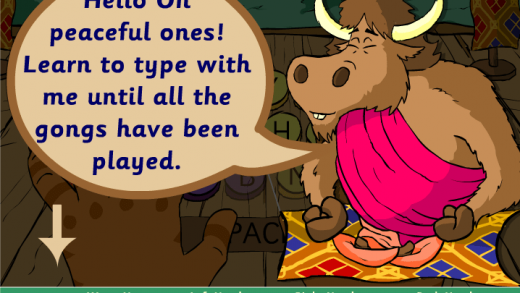
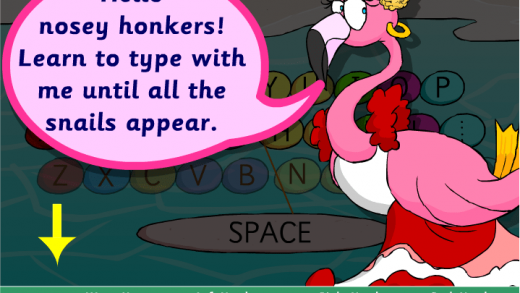
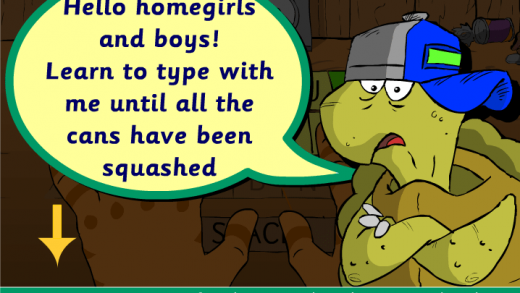
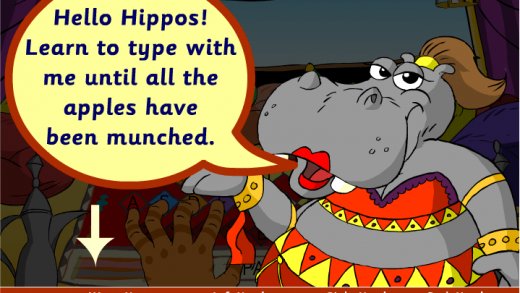
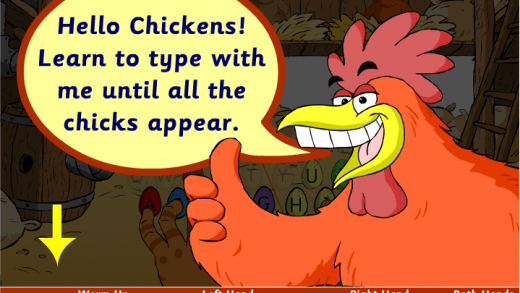
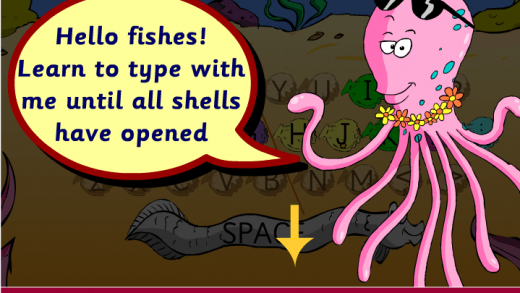
Parents are always trying to look for the best typing game for their students; now, you don't need to look further. The BBC Dance Mat typing game is a free online typing game that is specially designed for kids. In this typing game, children will learn how to type on the keyboard as well as different typing skills. Dance Mat Typing game contains anthropomorphic animals who funnily teaches kids and guides you where to place their fingers and type a specific key. At the end of each stage, teachers and their assistants sing and dance to celebrate the player's achievements.
Each lesson consists of different characters, voices, appearances, and cartoons that make the lesson more attractive and entertaining. In starting, the game is easier when all the keys come into play. After completing each level, students receive a certificate, which they can print later. All levels and stages are available, so students can start any stage according to their choice. However, when students complete the exercise, then the words per minute typing test will welcome them.
The dance mat typing game has 4 levels, and each level has 3 different stages. The animated cartoon animal teacher guides the kids in all 12 stages and showing them which key to press and where to place their fingers on the keyboard. When students complete the exercise successfully, they receive different rewards and bonuses.
Features of BBC Dance Mat Typing Game
· Dance Mat Typing game will help your children to learn typing quickly within 4 weeks.
· There is no need to sign up or log in, but you can create your account if you want to save your work.
· The clean and user-friendly interface that easy to use and follow the instructions
· 100% free
Levels and Stages of the Dance Mat Typing Game
Level 1 and Stages (Learn Home Row Keys)
Dance Mat Typing Game Level 1 starts with the home row keys. At this level, one of your children will learn how to place a finger on the home row of the keyboard, as well as how to type I, R, and U letters.
Stage 1: Home Row Keys
Are your fingers warm up for typing? Here at this stage, children learn where to place fingers on your keyboard's home row. Child left-hand fingers rest respectively on A, S, D, and F your right-hand fingers rest on J, K, L, and ;. The thumb will stay on the space bar.
Stage 2: E & I Keys
Now it's time to learn something new; in stage 2, children learn E and I keys' right use. It's very easy to operate; just slightly move a middle finger on the upper row. The second stage ensures that both hands are on the sides of the keyboard.
Stage 3: R & U Keys
Stage three teaches how to build impressive typing skills by typing R and U letters. Now, kids, how do you will manage the semicolon and all 13 letters?
Level 2 and Stages (Learn Upper Row Six Keys)
At level 2, children learn to type six new keys of an upper row from the home row, including T, Y, W, O, Q, and P letters.
Stage 4: T & Y Keys
At this time, animated animals teach the children the combination use of T and Y. In this stage, children will cover most of the area of the keyboard. Children will use E, R, U, and I keys and flex those fingers to make sure their left and right hands cover their respective keys.
Stage 5: W & O Keys
Before starting to learn new keys, children need to pass an overview test to make sure they remember past lessons. In stage five, children learn to type W and O letters. The left-hand ring finger slightly moves towards the upper row and hit the W keys. Similarly, the right-hand ring finger moves toward the upper row and press the O key.
Stage 6: Q & P Keys
Well done, here the children have learned half the keyboard letters. It's time to move forward and learn two more new letters, Q and P. Children will move the pink or little finger of their left hand towards the top row and press the Q button, and similarly, they will move their pink finger of the right hand upwards and type the P buttons.
Level 3 and Stages (Learn Bottom Row Six Keys)
Here at level, 3 children will learn the bottom row from the home row keys, including V, M, B, N, C, and comma (,).
Stage 7: V & M Keys
Stage 7 is about V and M letters. The use of V and M is easy to learn. Children will move down their pointer finger on the bottom row and press the V key similarly; with the use of the right-hand pointer finger, they will press the M key.
Stage 8: B & N Keys
Have you successfully completed stages 1 through 7? You learned V and M in the previous lesson. Now it's time to add two more letters B and N. Move your left-hand pointer finger below from the home row and hit the B key and in the same way, hit the N key by moving the right-hand pointer finger from the home row.
Stage 9: C & , Keys
Stage 9 is the last stage of level 3; in this stage, students will learn the letter C as well as the use of the symbol comma (,). You can type the C letter using the middle finger of the left hand and, similarly, with a right-hand middle finger to press the comma key.
Level 4 and Stages (Learn Five More Keys and Capital Letters)
In this last level, you will learn the last two letters, X and Z, and also learn how to make capital letters, including full stop, apostrophe, and slash.
Stage 10: X & . Keys
During stage 10, you will tackle two new keys, X and full stop (.). Your left-hand ring finger will control the X key, and your right-hand ring finger controls the full stop key (.). It's very simple to do, slightly move down your left-hand ring finger on the bottom row and press the X key. Similarly, move down your right-hand ring finger on the bottom row and press the full stop key. Stage 11: Z & ? Keys
Stage 11: Z & ? Keys
Here, you learned almost all keyboard letters, but don't think that you have learned everything; now increase your skill by adding the Z letter and question mark. By using your left-hand pinky finger, press the Z key, and with your left-hand finger, hold the shift key, and by using your right-hand pinky finger, press the question mark key simultaneously.
Stage 12: Shift Keys
Congrats, this is the last stage of level four, here you will learn how to make capital words by using the shift key. There are two shift keys available on both the left and right-hand sides for convenient use. The student will make a Capital word by hold the shift key and press a specific key sententiously. Remember, when you press a key with your right-hand finger, your left-hand finger holds the shift key simultaneously.
Teacher Notes
The Dance Typing Game is specially designed for the beginner level students and suitable for 7 to 11 years old children. The game's main goal is that children about different typing skills including, motor skills for both right and left hands, avoid looking at the keyboard while typing and maintain focus between the screen and eye level. The students can use both hand fingers at the same time. Furthermore, typing kids' main thing will focus on the home row and how to use the upper row and bottom row keys without leaving the home row keys. In short, this best typing game for kids will improve their keyboard speed, accuracy, and memorization.
